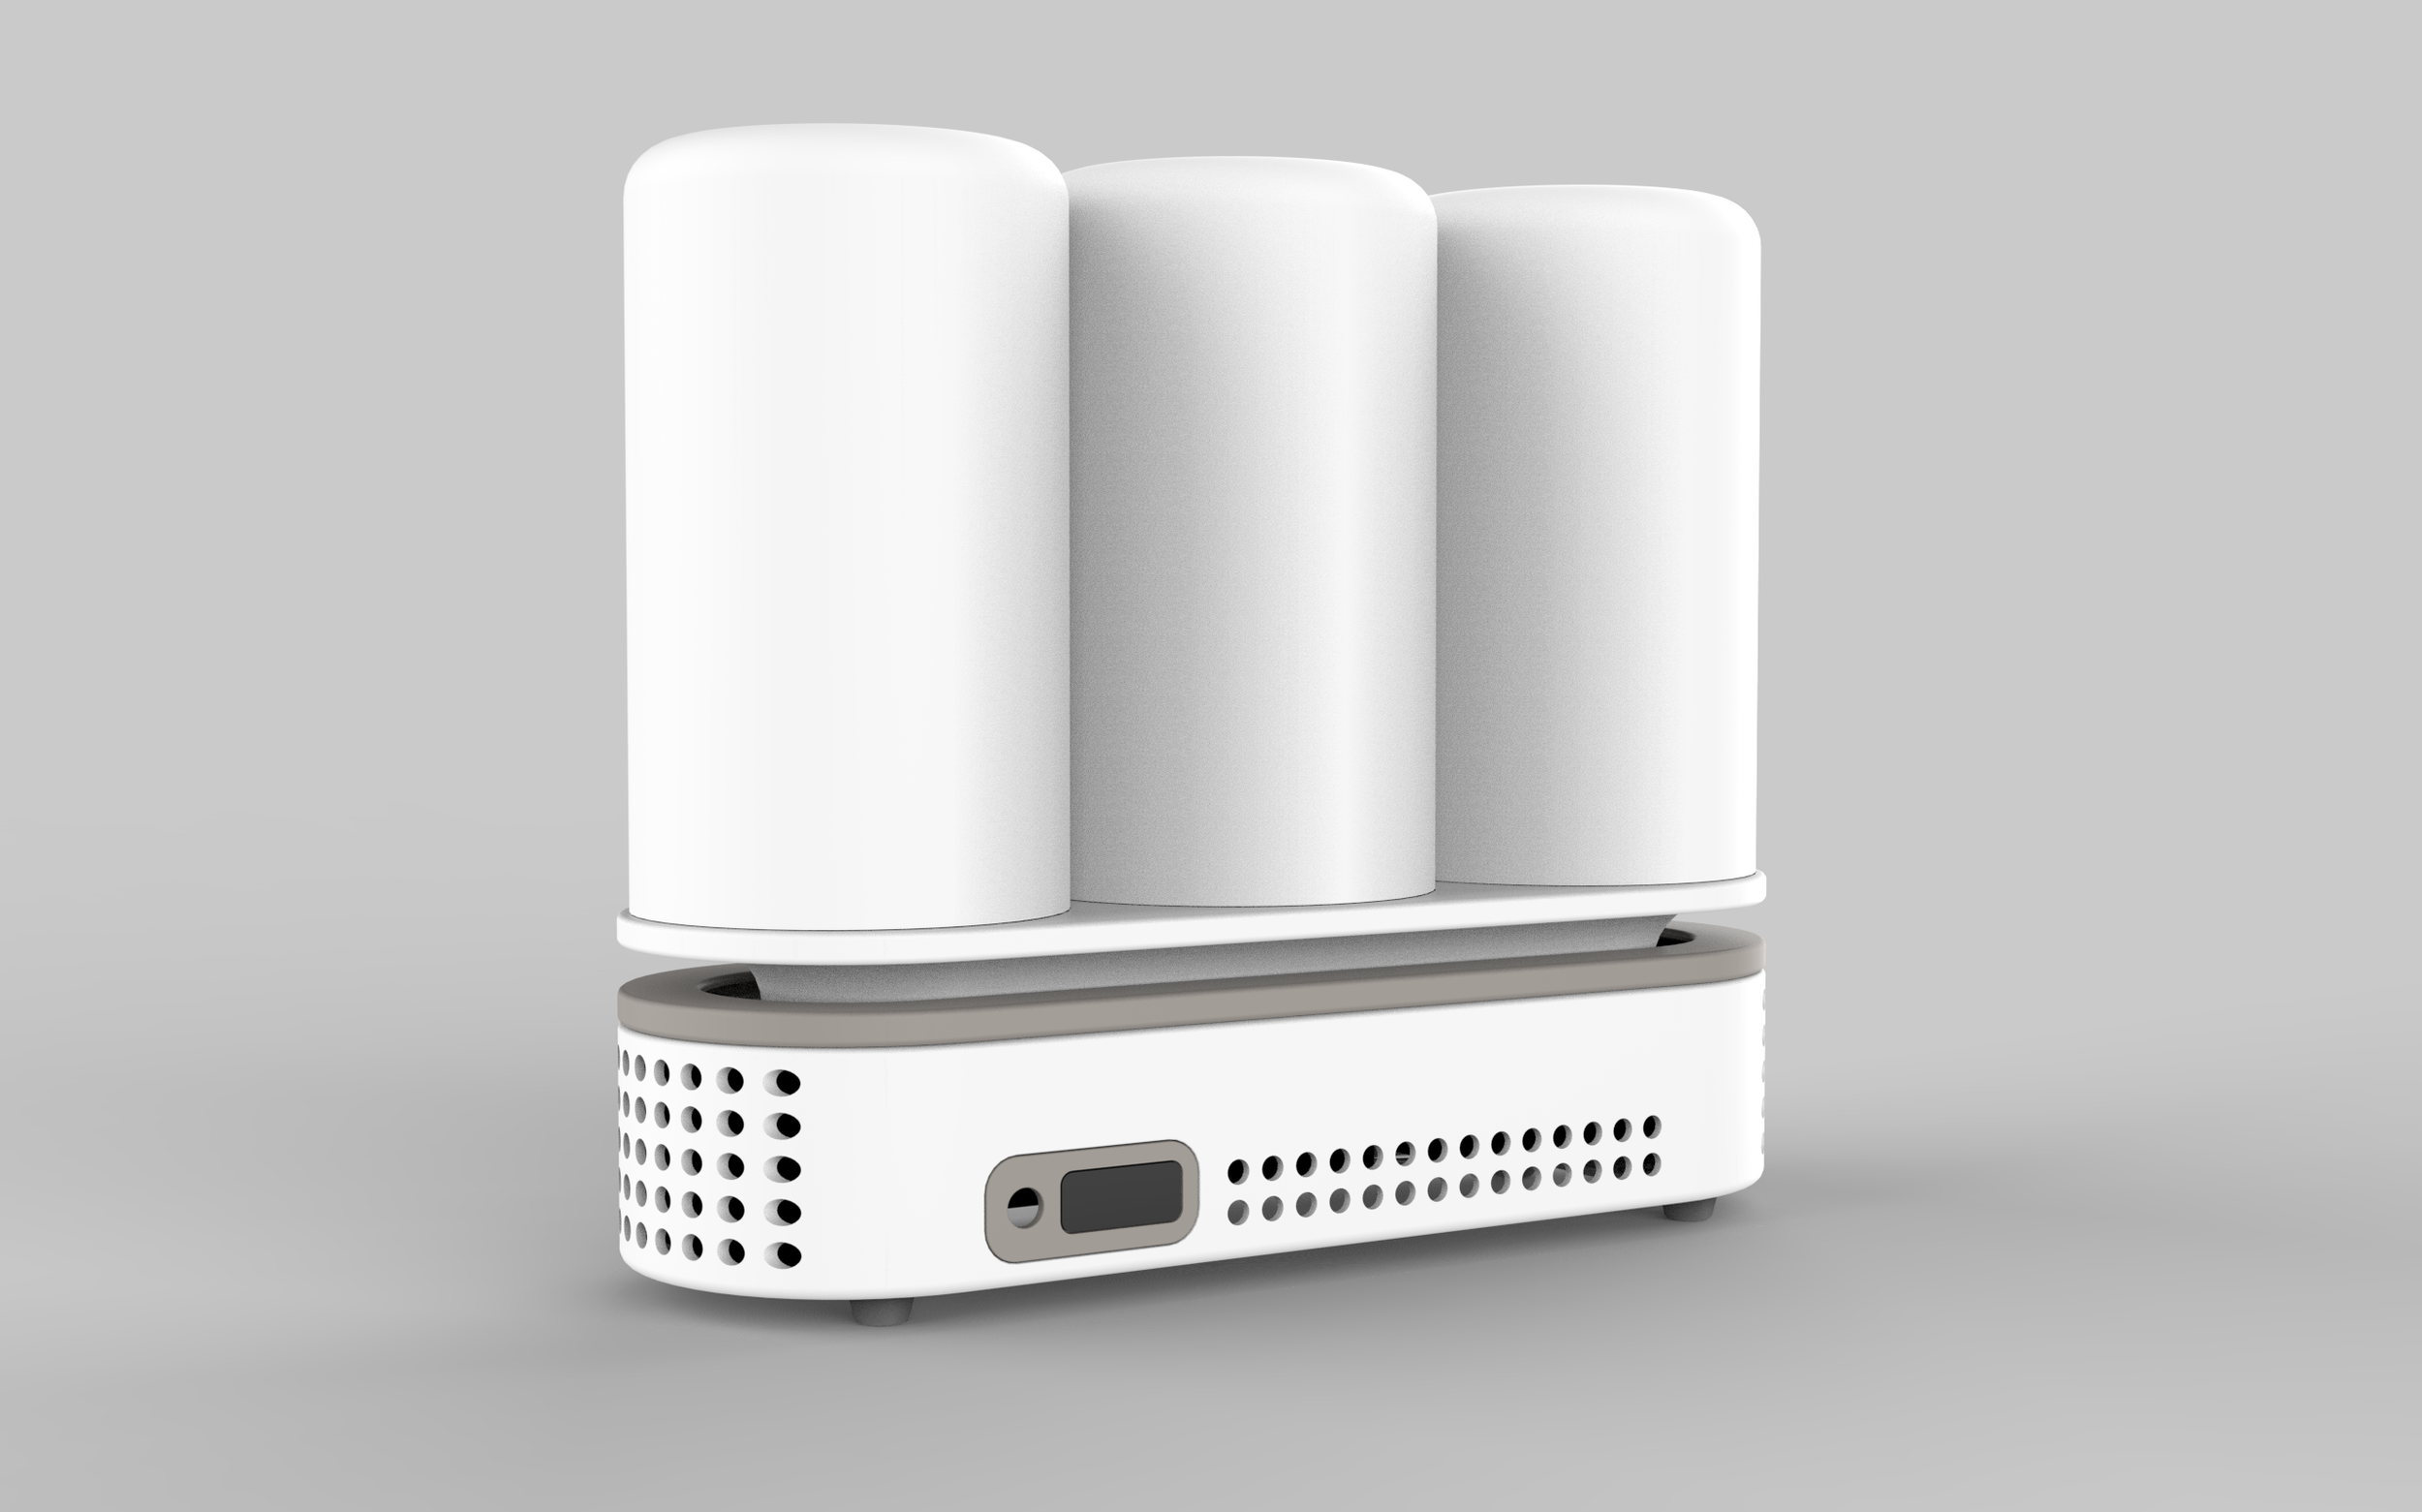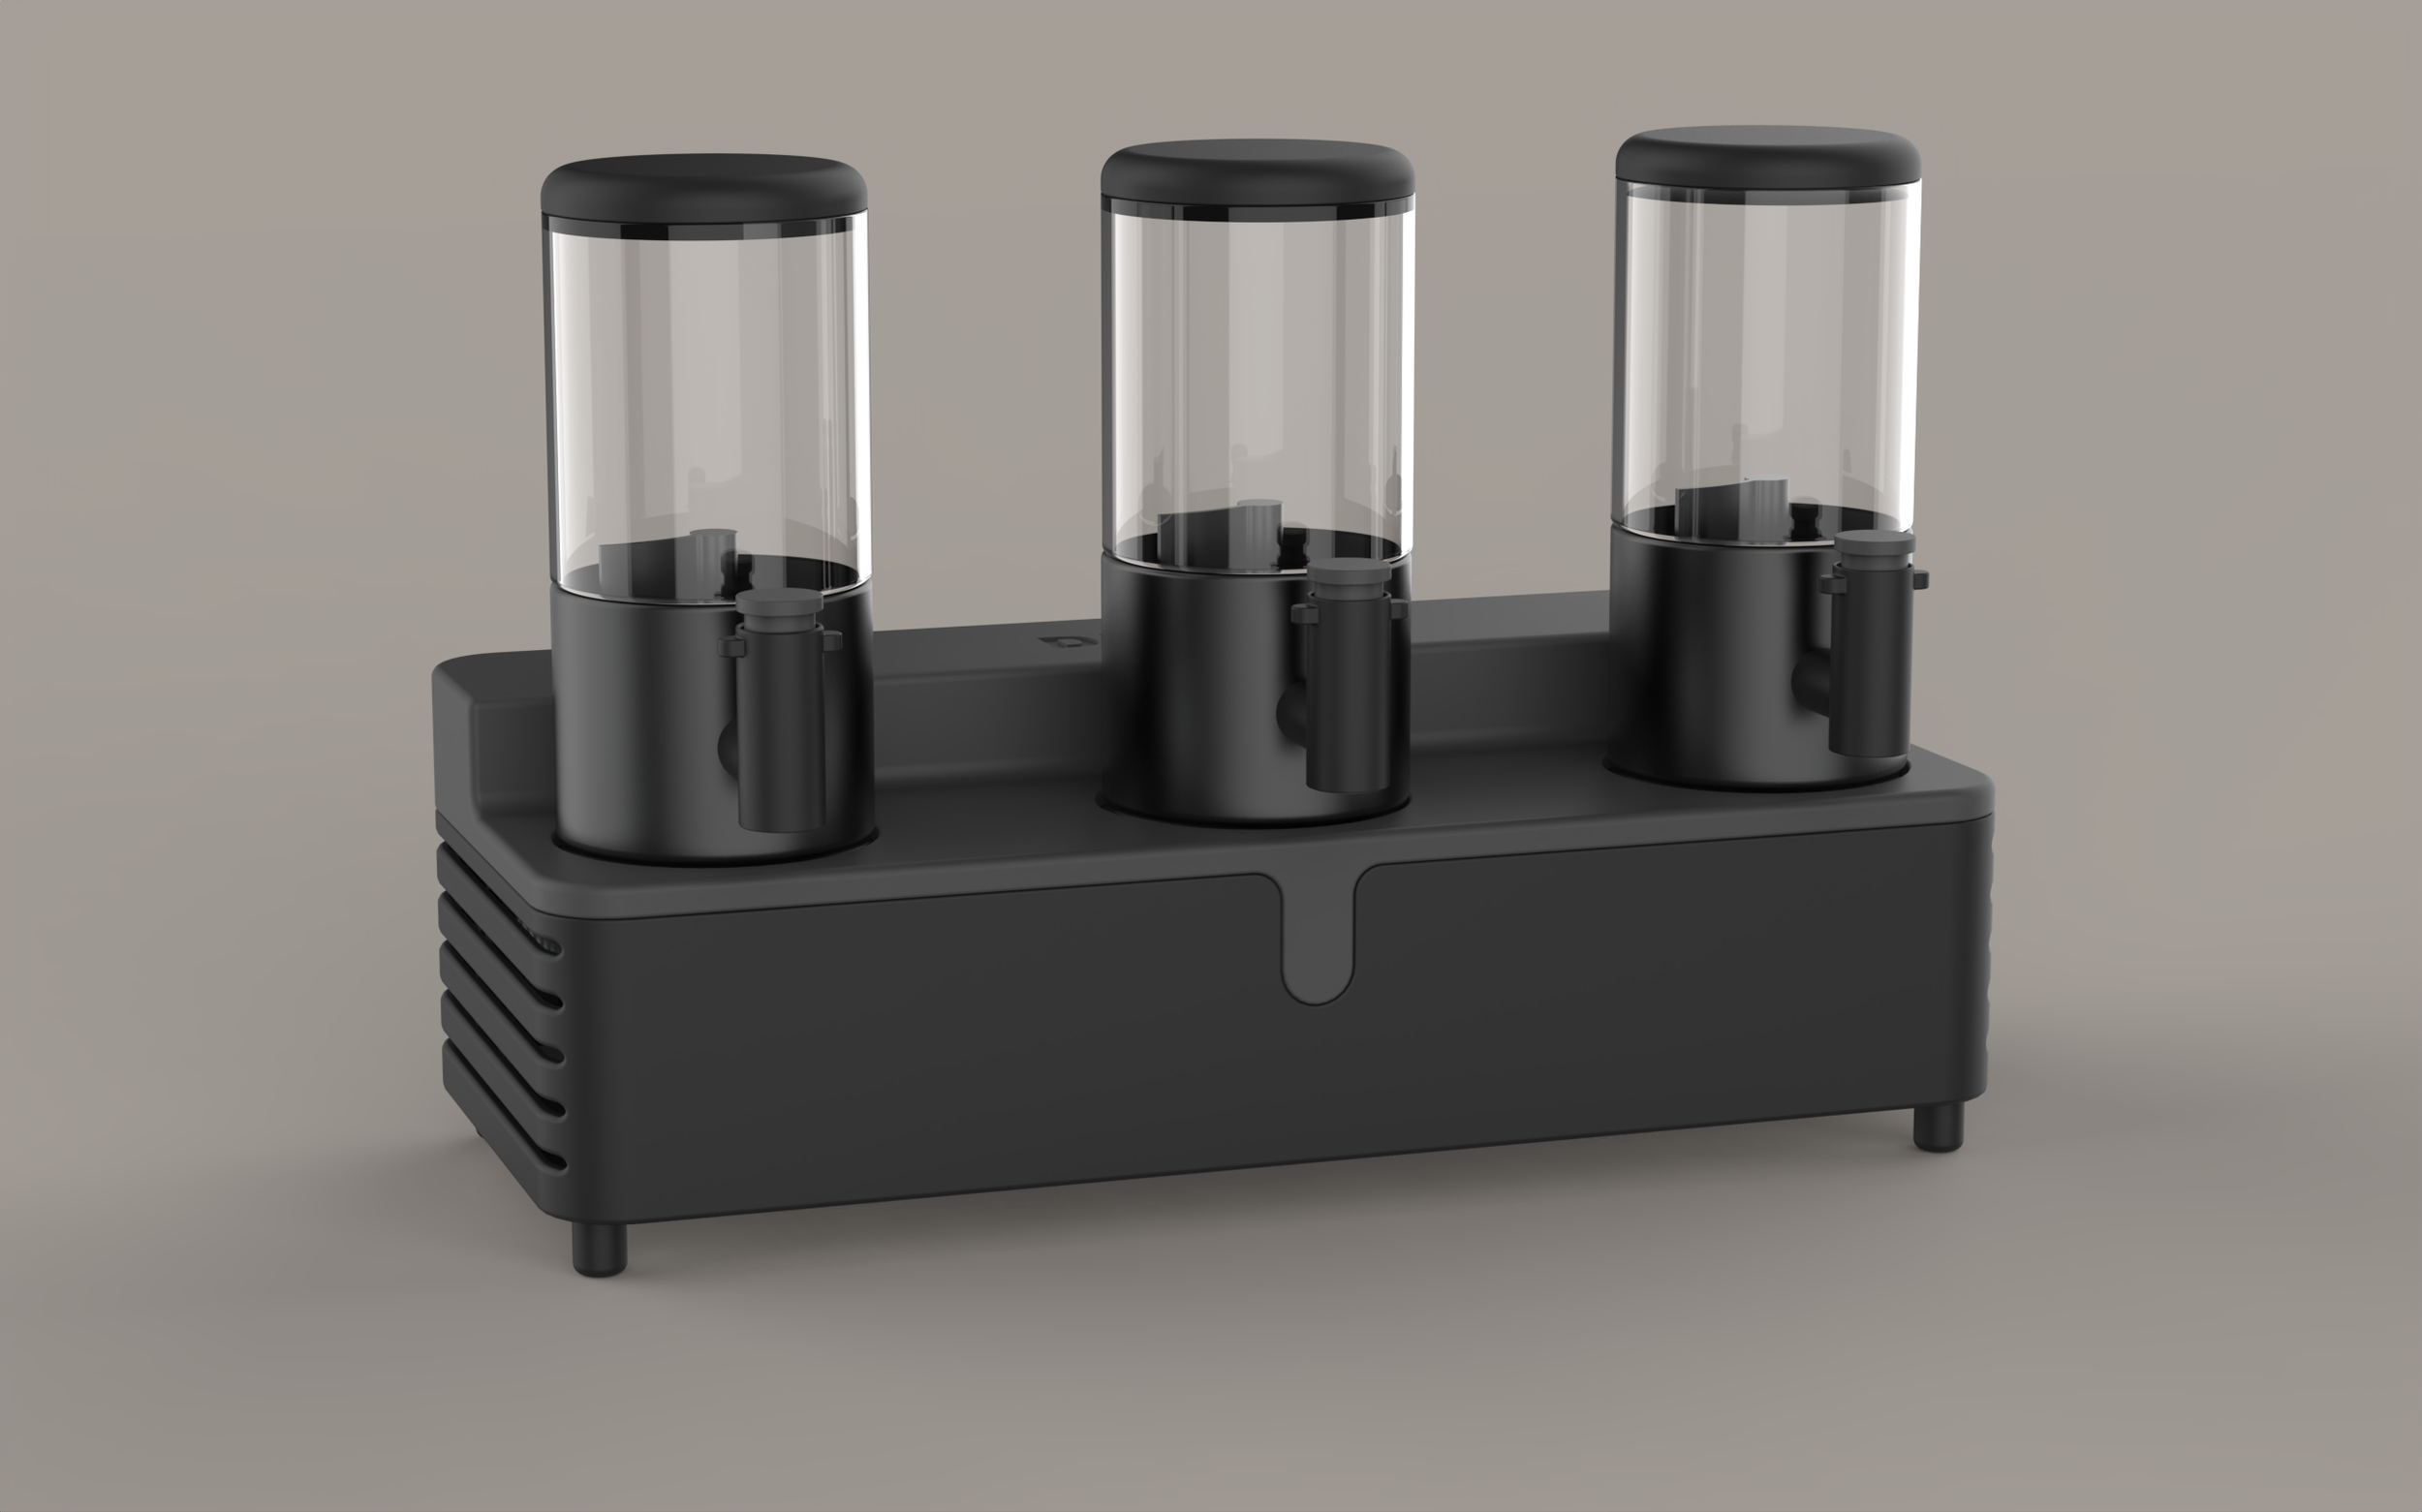
Problem
At times, especially in households with more than 2 people, refrigerators can become crammed with food and worst of all containers. A shared fridge will usually contain a couple cartons of milk, juice, teas and other beverages. Sometimes different people within the same home drink different types of milks such as almond, soy or oat while the others drink normal cow milk. On top of that there’s other issues that arise from day to day use of beverages such as spillages, forgetting to put the containers back in the fridge, and even those with disabilities can struggle with serving themselves beverages.
The Dripp beverage dispenser is designed to tackle all these problems in one beautiful product.


Opportunity Zone:
Design a beverage dispenser that is minimal yet effectively keeps beverages cold.
How might we create a more convenient way of storing and dispensing beverages?
Communal Spaces
Families
Dorms/Roommates
Office / Break Rooms
Primary Users:
Have multiple beverage containers in fridge
Fridge is cluttered
Easier to keep track of beverage amount
Less of a mess

Average size of juice container:
half gallon, 2 liters, gallon.
Average size of milk container:
half gallon, 2 liters, gallon.
Optimal size for beverage container would be 1/2 gallon to accommodate the majority of beverage options
Inspiration
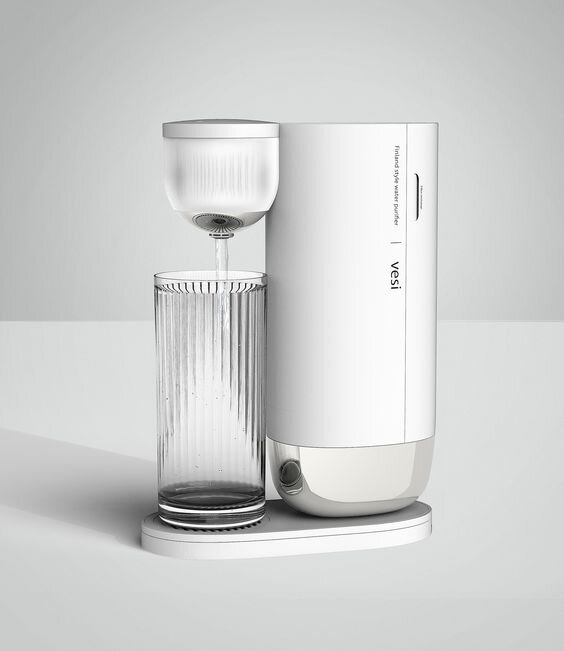
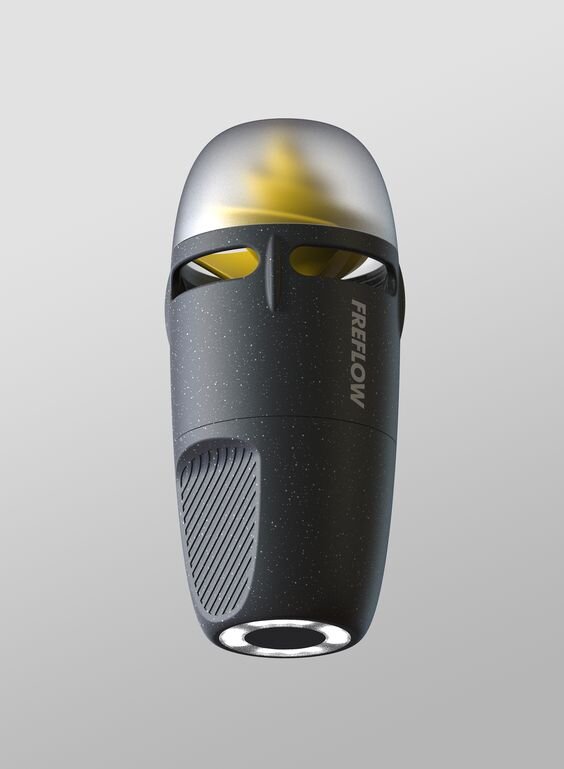
Round Form (cylinder + rounded edge rectangle). Minimal. Modern Detail + Texture
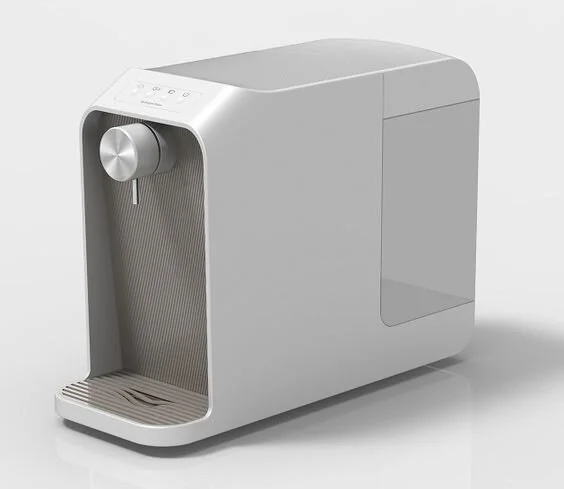
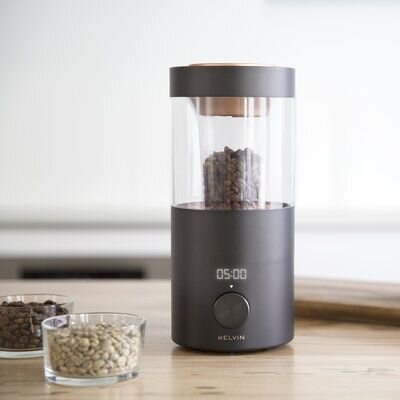
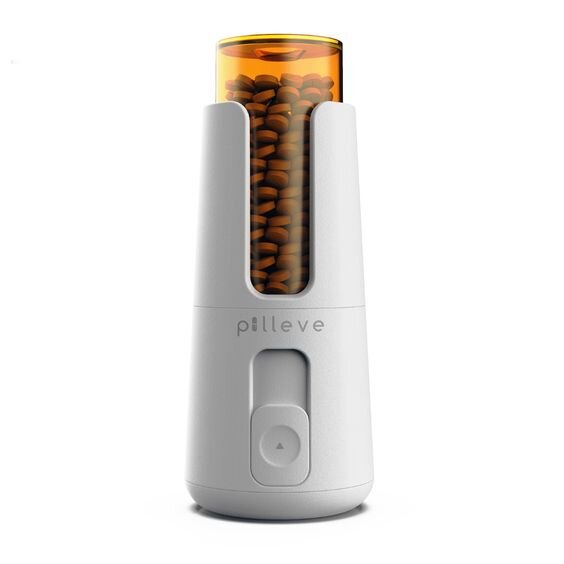
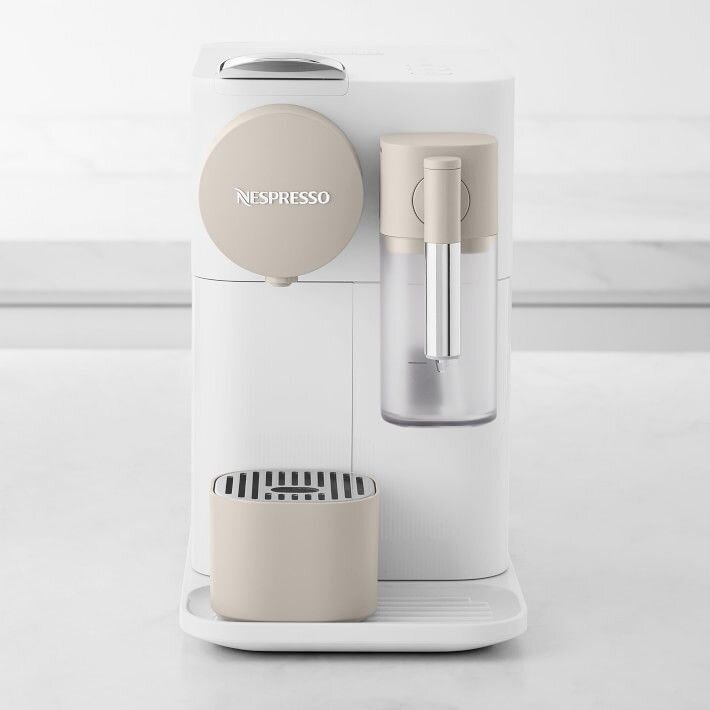
Refrigeration Method
Peltier Module. When voltage is applied one side becomes hot, the other side becomes cold. Sits in between two heatsinks
Countertop to Cabinet Height: 18 - 25in 1 Gallon weighs about 4.5 lbs Average 8 0z cup size is between 3-7 inches tall There would have to be adequate room for the user to remove the container as well as a cup to fit. The spigot would have to be around 2-3 inches from the bottom of the container
1st Direction
Similar to an existing beverage dispenser this idea uses the refrigeration system to cool down a metal rod that is inserted within the drink to cool throughout
Ideations
Began to ideate different shapes and forms while taking into consideration the form of refrigeration
Here I came up with different ways one would press to dispense the beverage as well as some ideations for how the spigot would look like and how it would. As well as taking consideration the overall aesthetic of the product. I wanted to follow the similar form of the container of being a vertical cylinder as well as having a two color design.
Decided on a general form from the previous ideation phase and began to ideate details and different silhouettes I wanted the product to have a minimal yet interesting form.
In order for the metal case to be removable and not interfere with the spigot I had to ideate different ways in which the metal case would sit. Besides just the spigot, it needed to have some sort of opening so that the user can see how much liquid is inside.
User scenario for how to fill and clean containers.
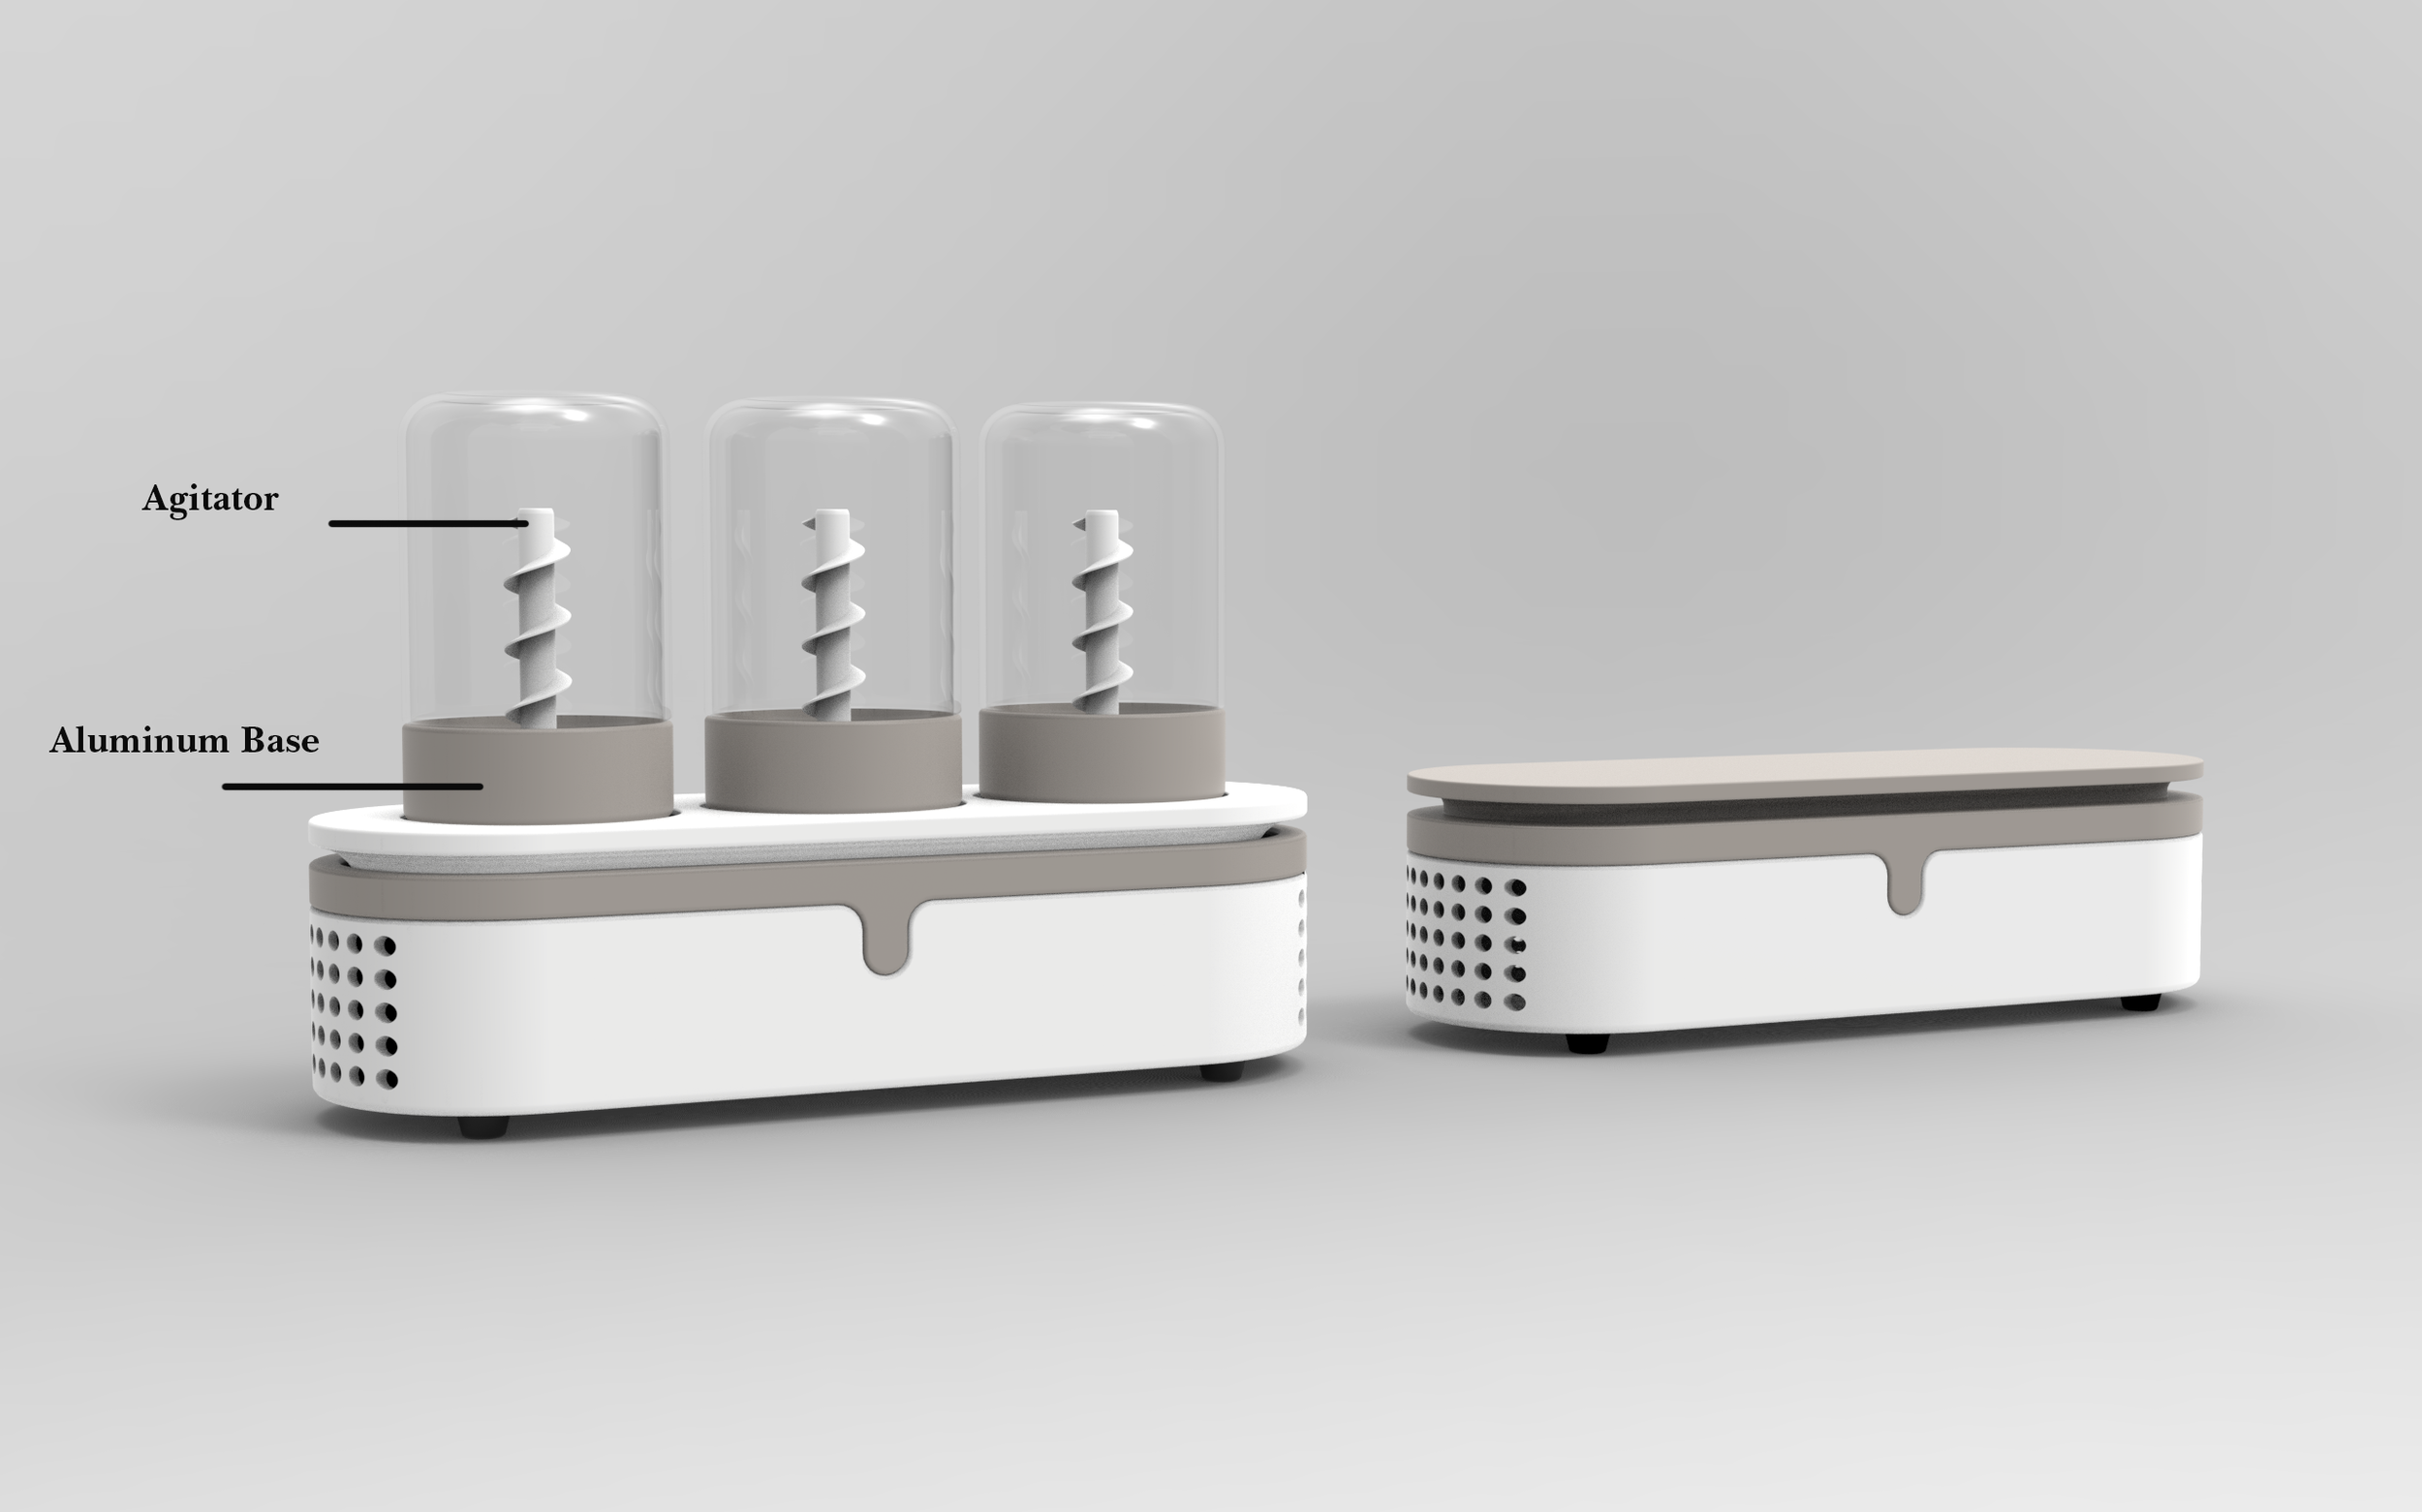
I wanted to avoid having just a big box with the containers hidden inside. I decided to keep the containers exposed outside because I wanted to show the contrast between the materials of glass, aluminum and plastic.
In this direction I ideated different ways the container would function, both aesthetically and how one would open and refill it. Because I knew the elderly and disabled would be a user I wanted to make the product as easy as possible to use.
New Direction
Problems with cooling rod direction Needs to have more cooling power to completely freeze or cool down 3 rods and 3 gallons of beverage The user would have to lift high enough to remove from cooling rod and to put back on.
Similar to these mini beverage coolers, the new direction would involve the cold air to be pushed upward. Instead of using a plate, which would not allow for adequate refrigeration of the whole container, the cold air will be trapped within an aluminum container to preserve the cold similar to the mini fridge on the right
In this direction the fans the are mounted onto the cold heatsink would blow the cold air upwards. The glass containers would have a metal case, sort of lid, that would trap the cold air within. This method would allow for even distribution of cold throughout the beverage so that no mixing is needed. I wanted to avoid using any kind of motor or mixing because I did not want the product to be any bigger than it is already. I also did not want the internals to be so crowded with electronics.
Mock Up 1
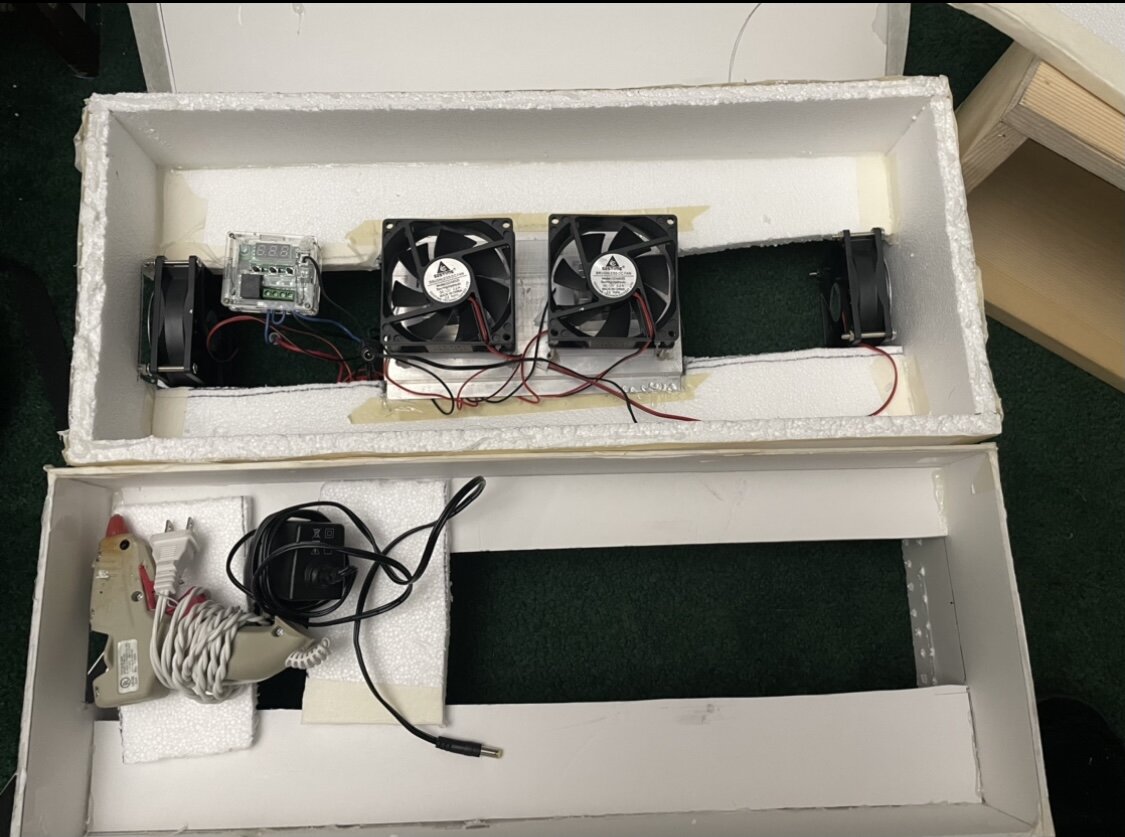
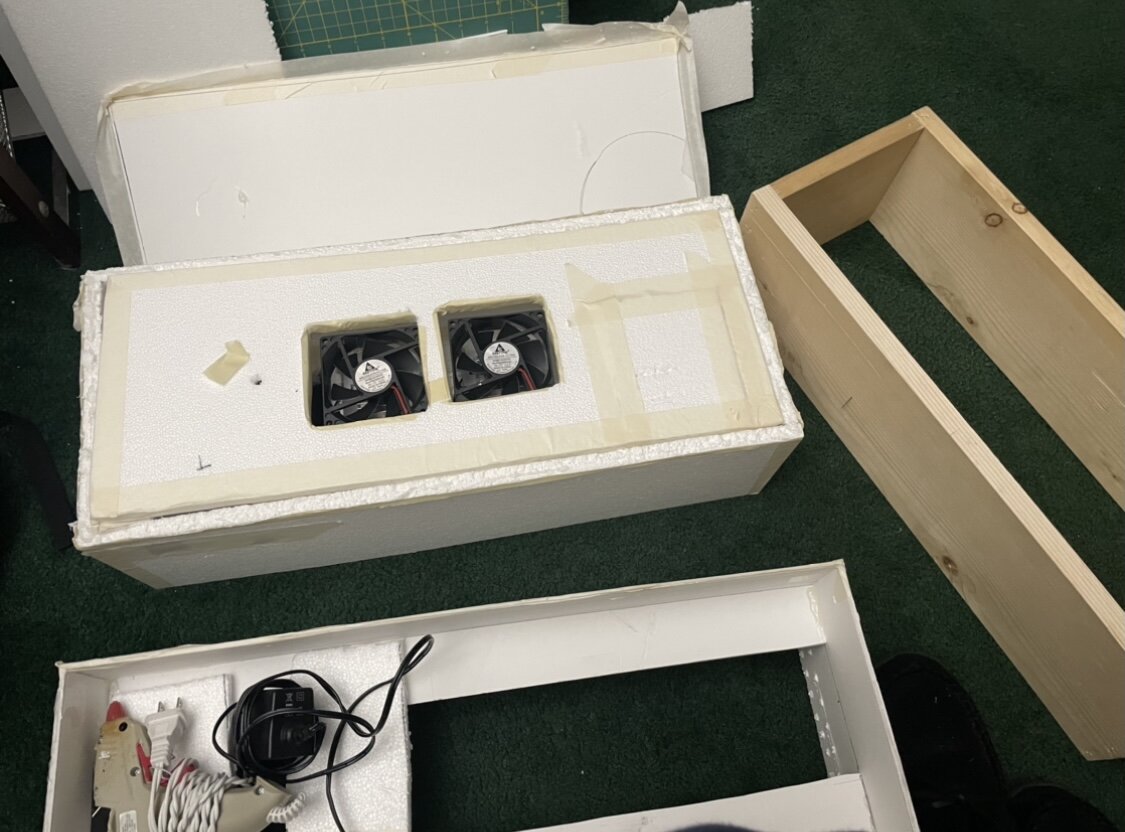
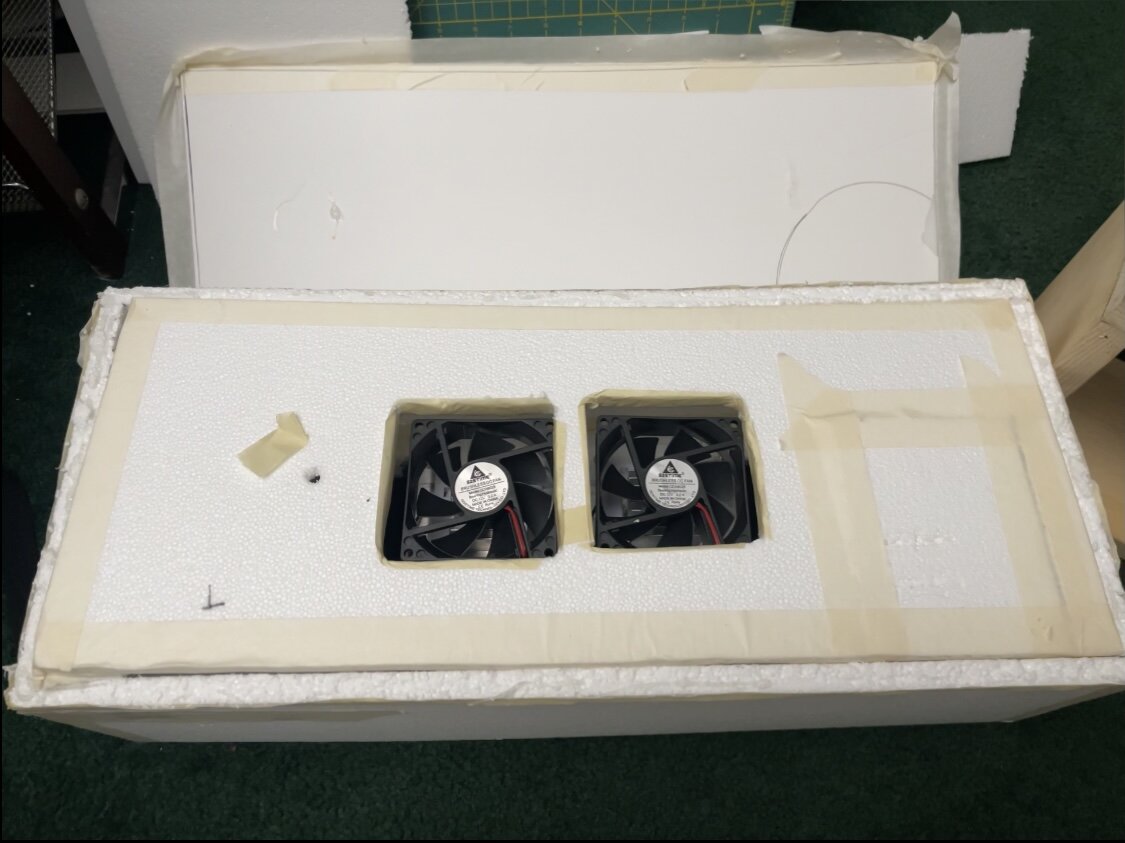
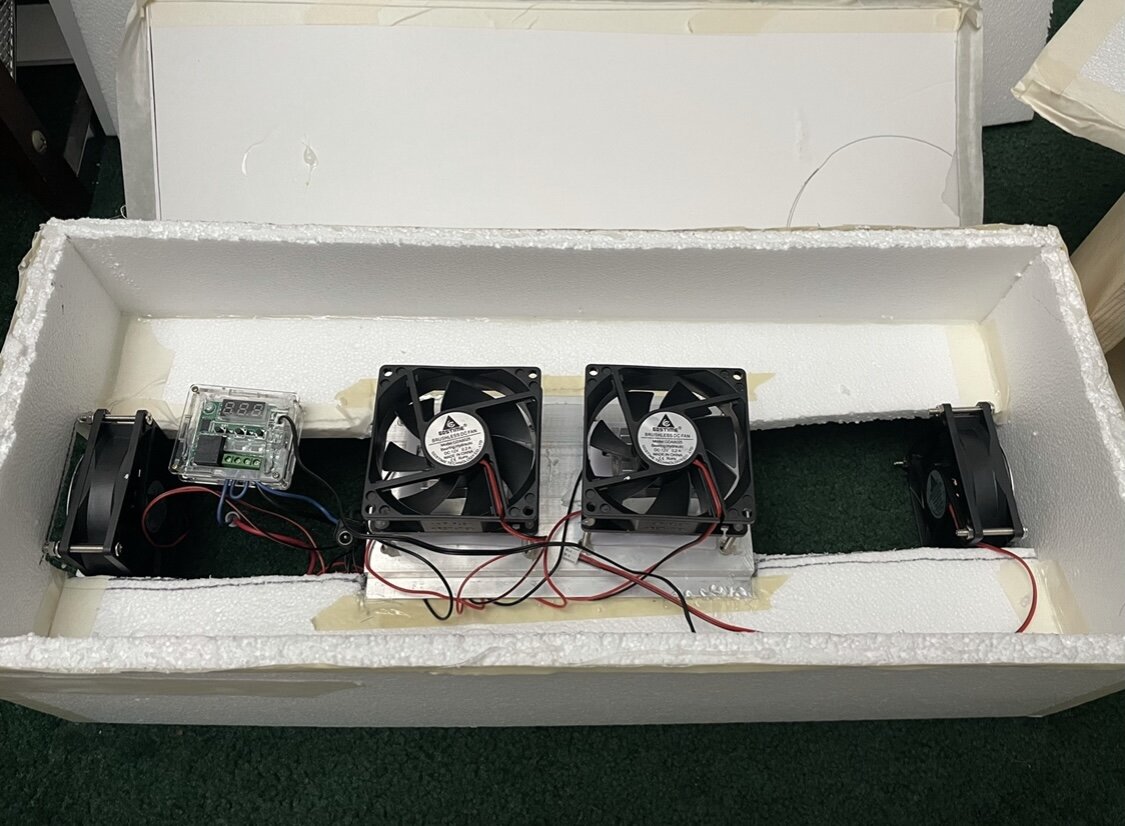
I used foam boards, styrofoam, and hot glue to construct the first scale mock up. I placed the refrigeration system in its appropriate location and connected all the electricals to test out the cooling power.
Feedback From Peers
Add area for logos Pressure for cold air to escape Liquid circulation for keeping beverage cold drinks often need to be stirred before served Would middle of liquid get cold enough from just cold air alone
Result of Mock Up Test
Fans did not generate enough power to blow enough cold air upwards. As well as heatsink temperature did not get low enough to cool. Fans would have to be bigger and stronger for this idea to work. Unfortunately there isn’t enough room to add bigger fans.
Because most drinks need to be mixed before serving the product would need some kind of mixing system.
Initially I did not include any mixing because I believed the previous system of using cold air to keep the containers cold would allow for equal cooling distribution throughout the beverage, however I did not consider the actual drink needs to be mixed or shaken before serving, as stated on the cartons of juice and milk etc.
I would need to add some sort of mixing system and since the drink will constantly be mixed that means I do not need to cool the whole container anymore. As long as bottom portion gets cold the rest will too because of the mixing. This would also address the issue of having pressurized cold air within the container from the previous direction
Mock Up 2
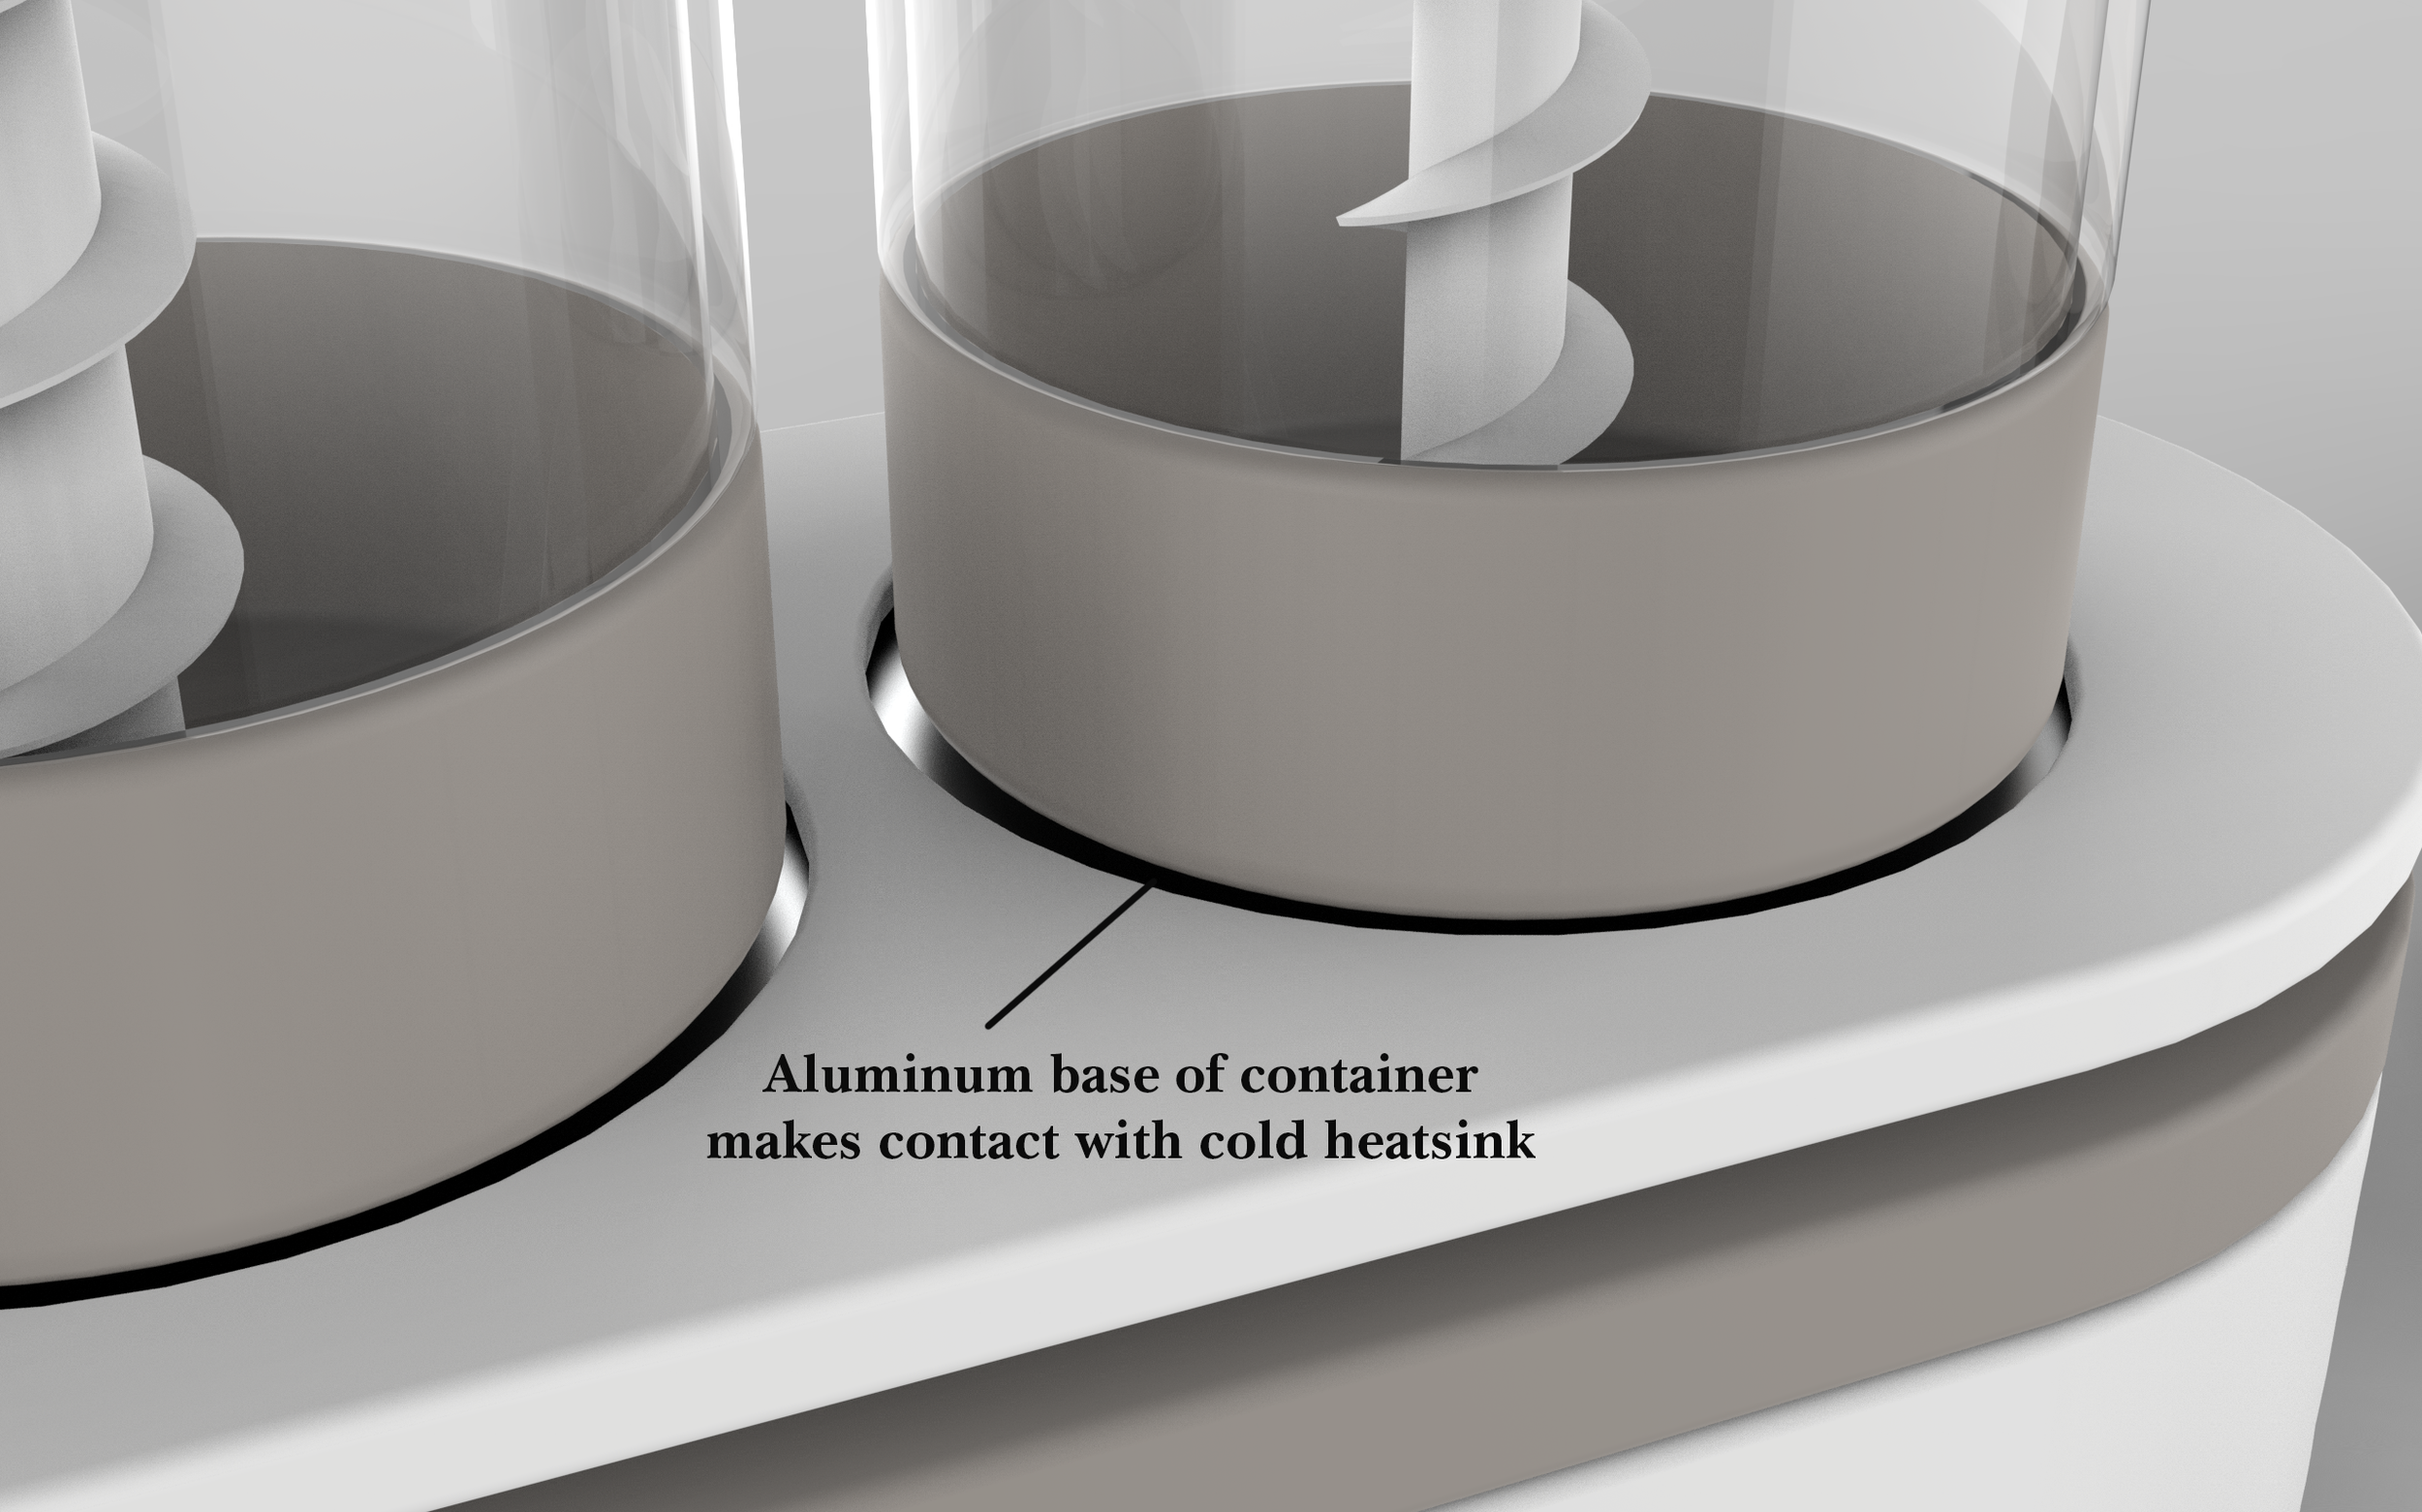
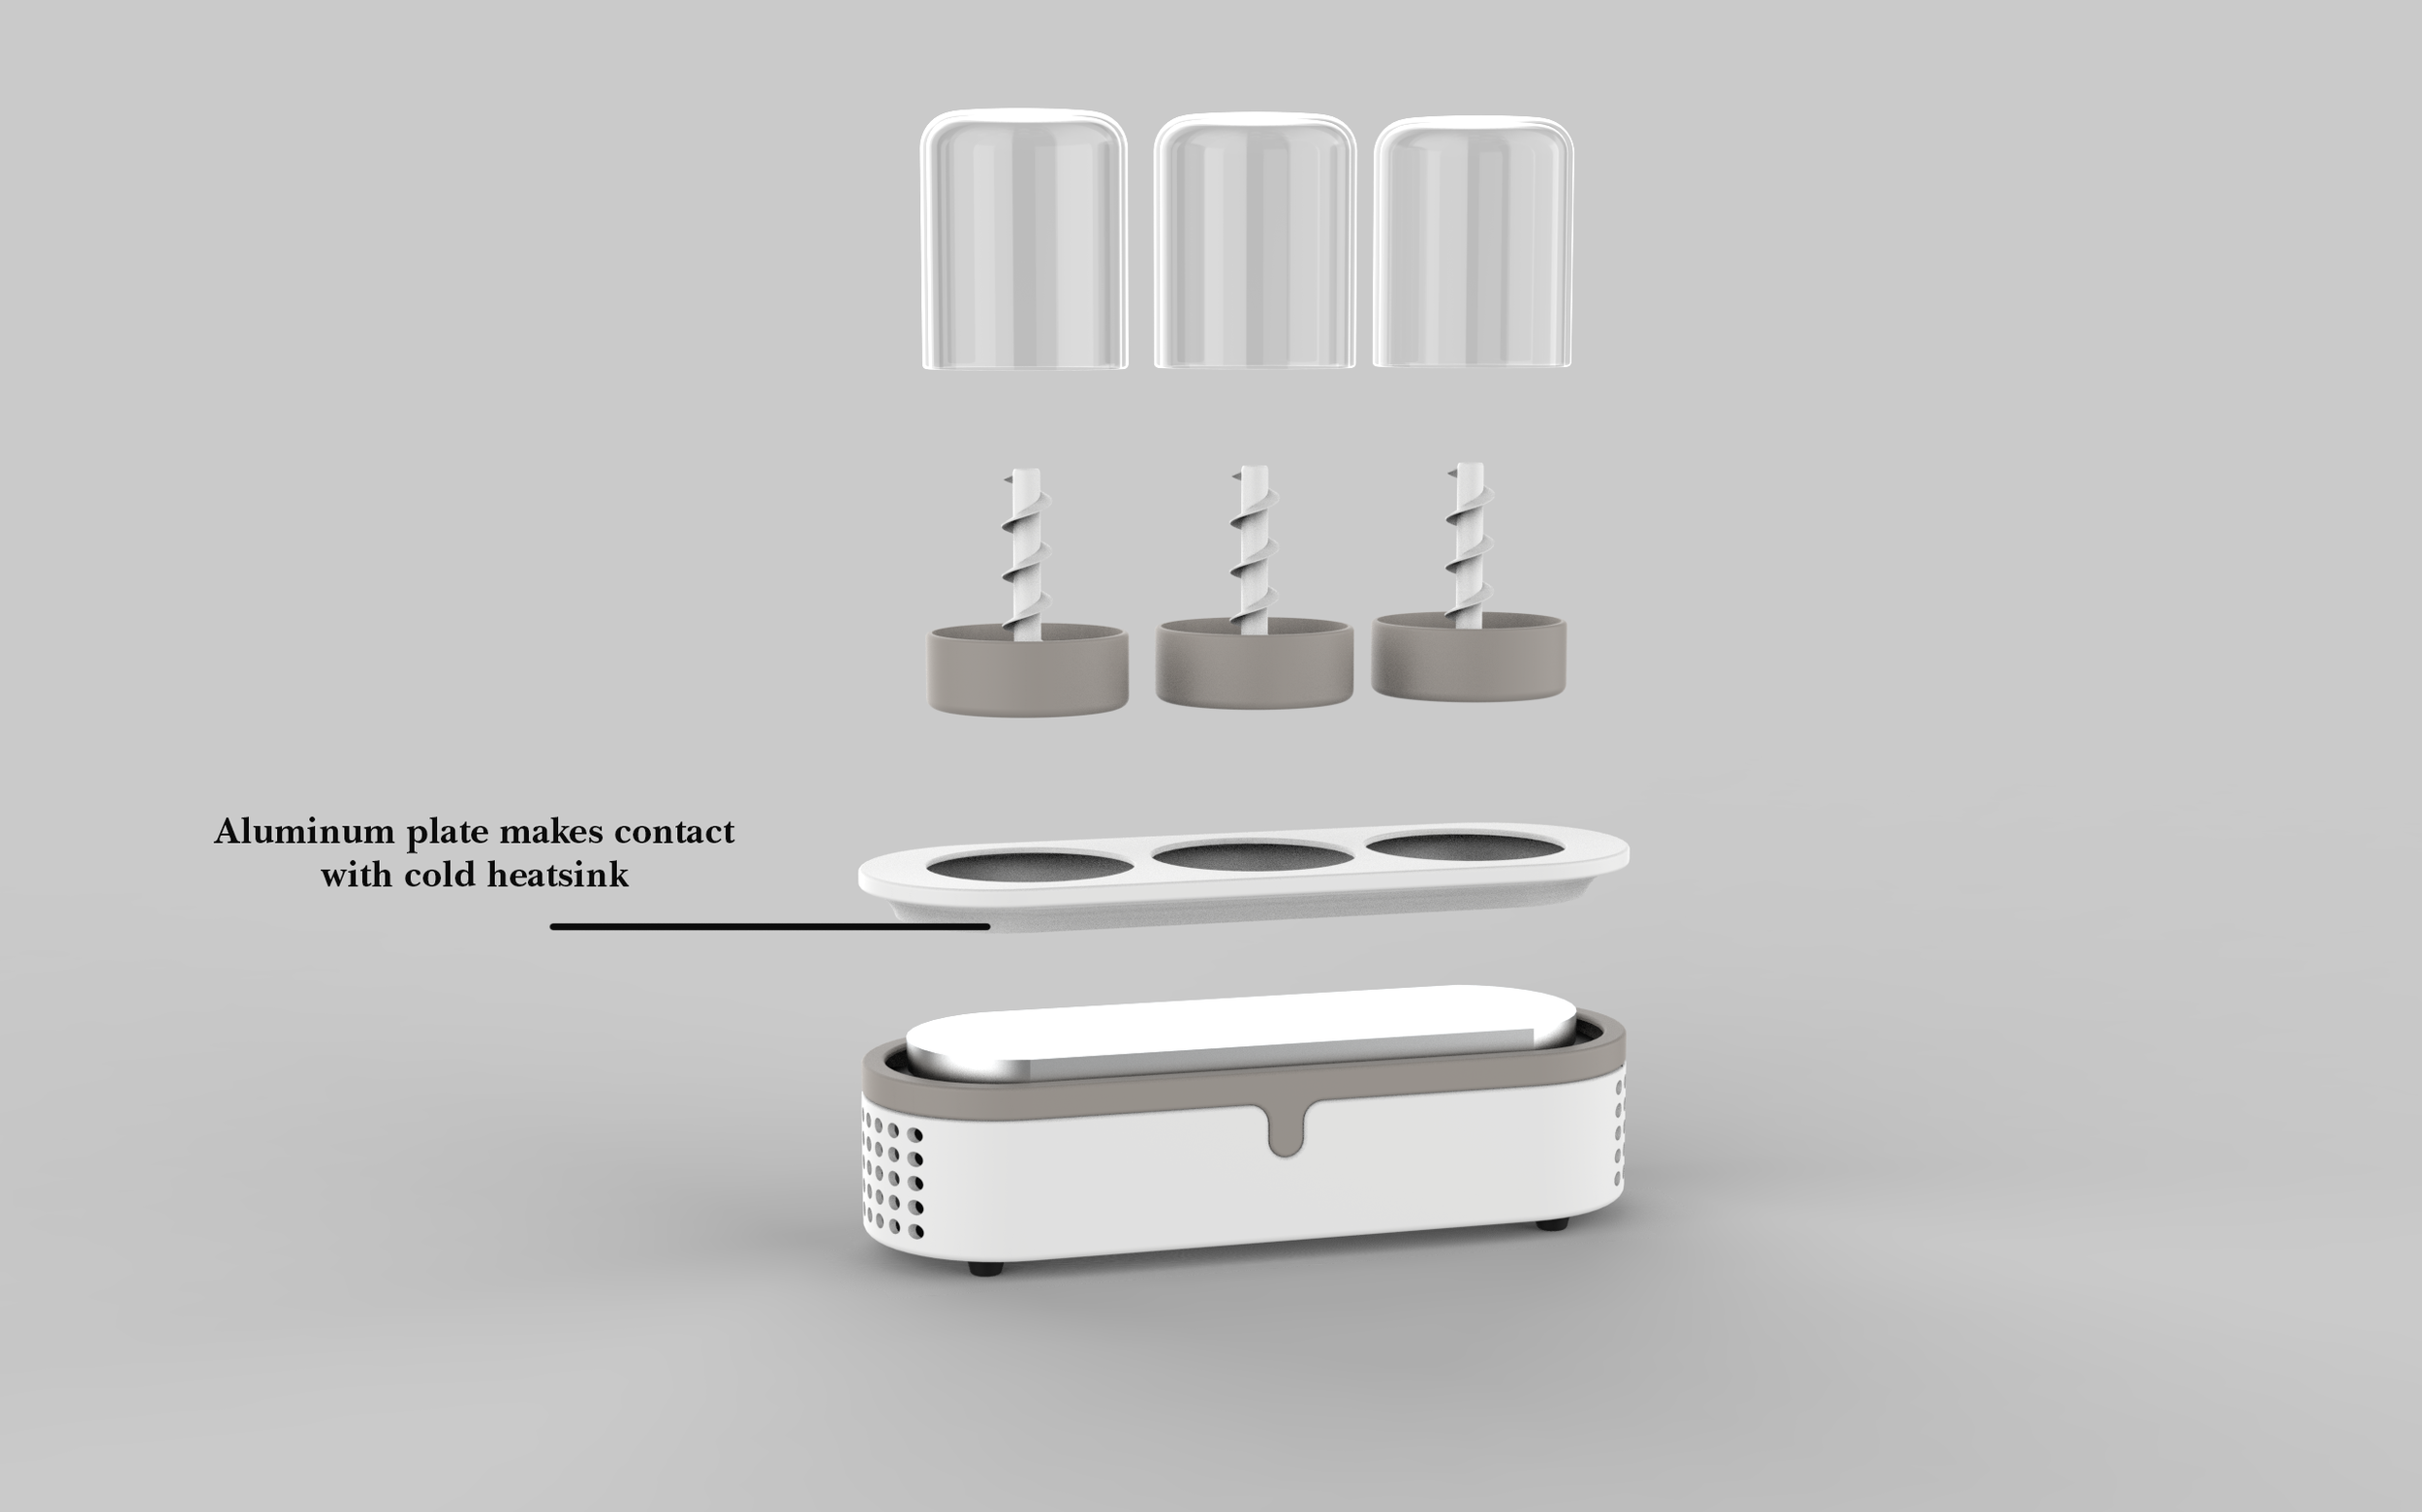
In the next mock up i continued to used foam board and styrofoam to make the housing. I was able to make the whole product smaller. With this idea the cold heatsinks would directly come into contact with the aluminum sheet then as the aluminum sheet gets cold it will transfer the cold to the metal container
On the bottom inside of the container will be a female end that will attach to the motor similar to a normal blender appliance
I then cut up the aluminum sheet into smaller platforms so that the heatsinks could cool them down faster. I added the motor that would then be used to mix the beverages.
In order to mix the beverage I used a 10 rpm DC motor
Final Direction
Form became more rectangular in order to fit all components Cold Heatsinks were removed to allow for better contact with peltier and aluminum sheet Motor placement has changed to the side. Motor could not fit appropriately underneath while still maintain desired temperature. Airway cutout shapes changed to rounded bars to better match the current aesthetic of product.
Final Mock Up
In order for the metal plate to get cold enough from the peltier I decided to remove the cold heatsink completely. This way the peltier can come into contact with the metal plate and transfer the cold more efficiently. I added a small block of aluminum in between the metal plate and peltier to give more height.
The ventilation allowed for the heat to escape from the hot side of the heatsink and was able to let the peltier and aluminum plate drop to 18 degrees Fahrenheit
I cut out the appropriate size holes where the containers will sit. The position of the motors had to change as well. Previously the peltier sat behind the container and the motor was underneath, however the aluminum plate did not get cold enough. Because of that I had to place the peltier directly under the metal plate and container for optimal coldness.
The position of the motor changed to the side. Along with this the overall shape and aesthetic had to change as well.
Because the position of the motor changed I had to come up with a new way for the motor to interact with the inside blade and the container. In order for the motor to be able to come in sideways and still rotate the blade in a vertical way I had to use bevel gears. I made a quick mock up using PVC plumbing pipes and an aluminum rod. Inside the PVC pipe is where the two bevel gears will go.
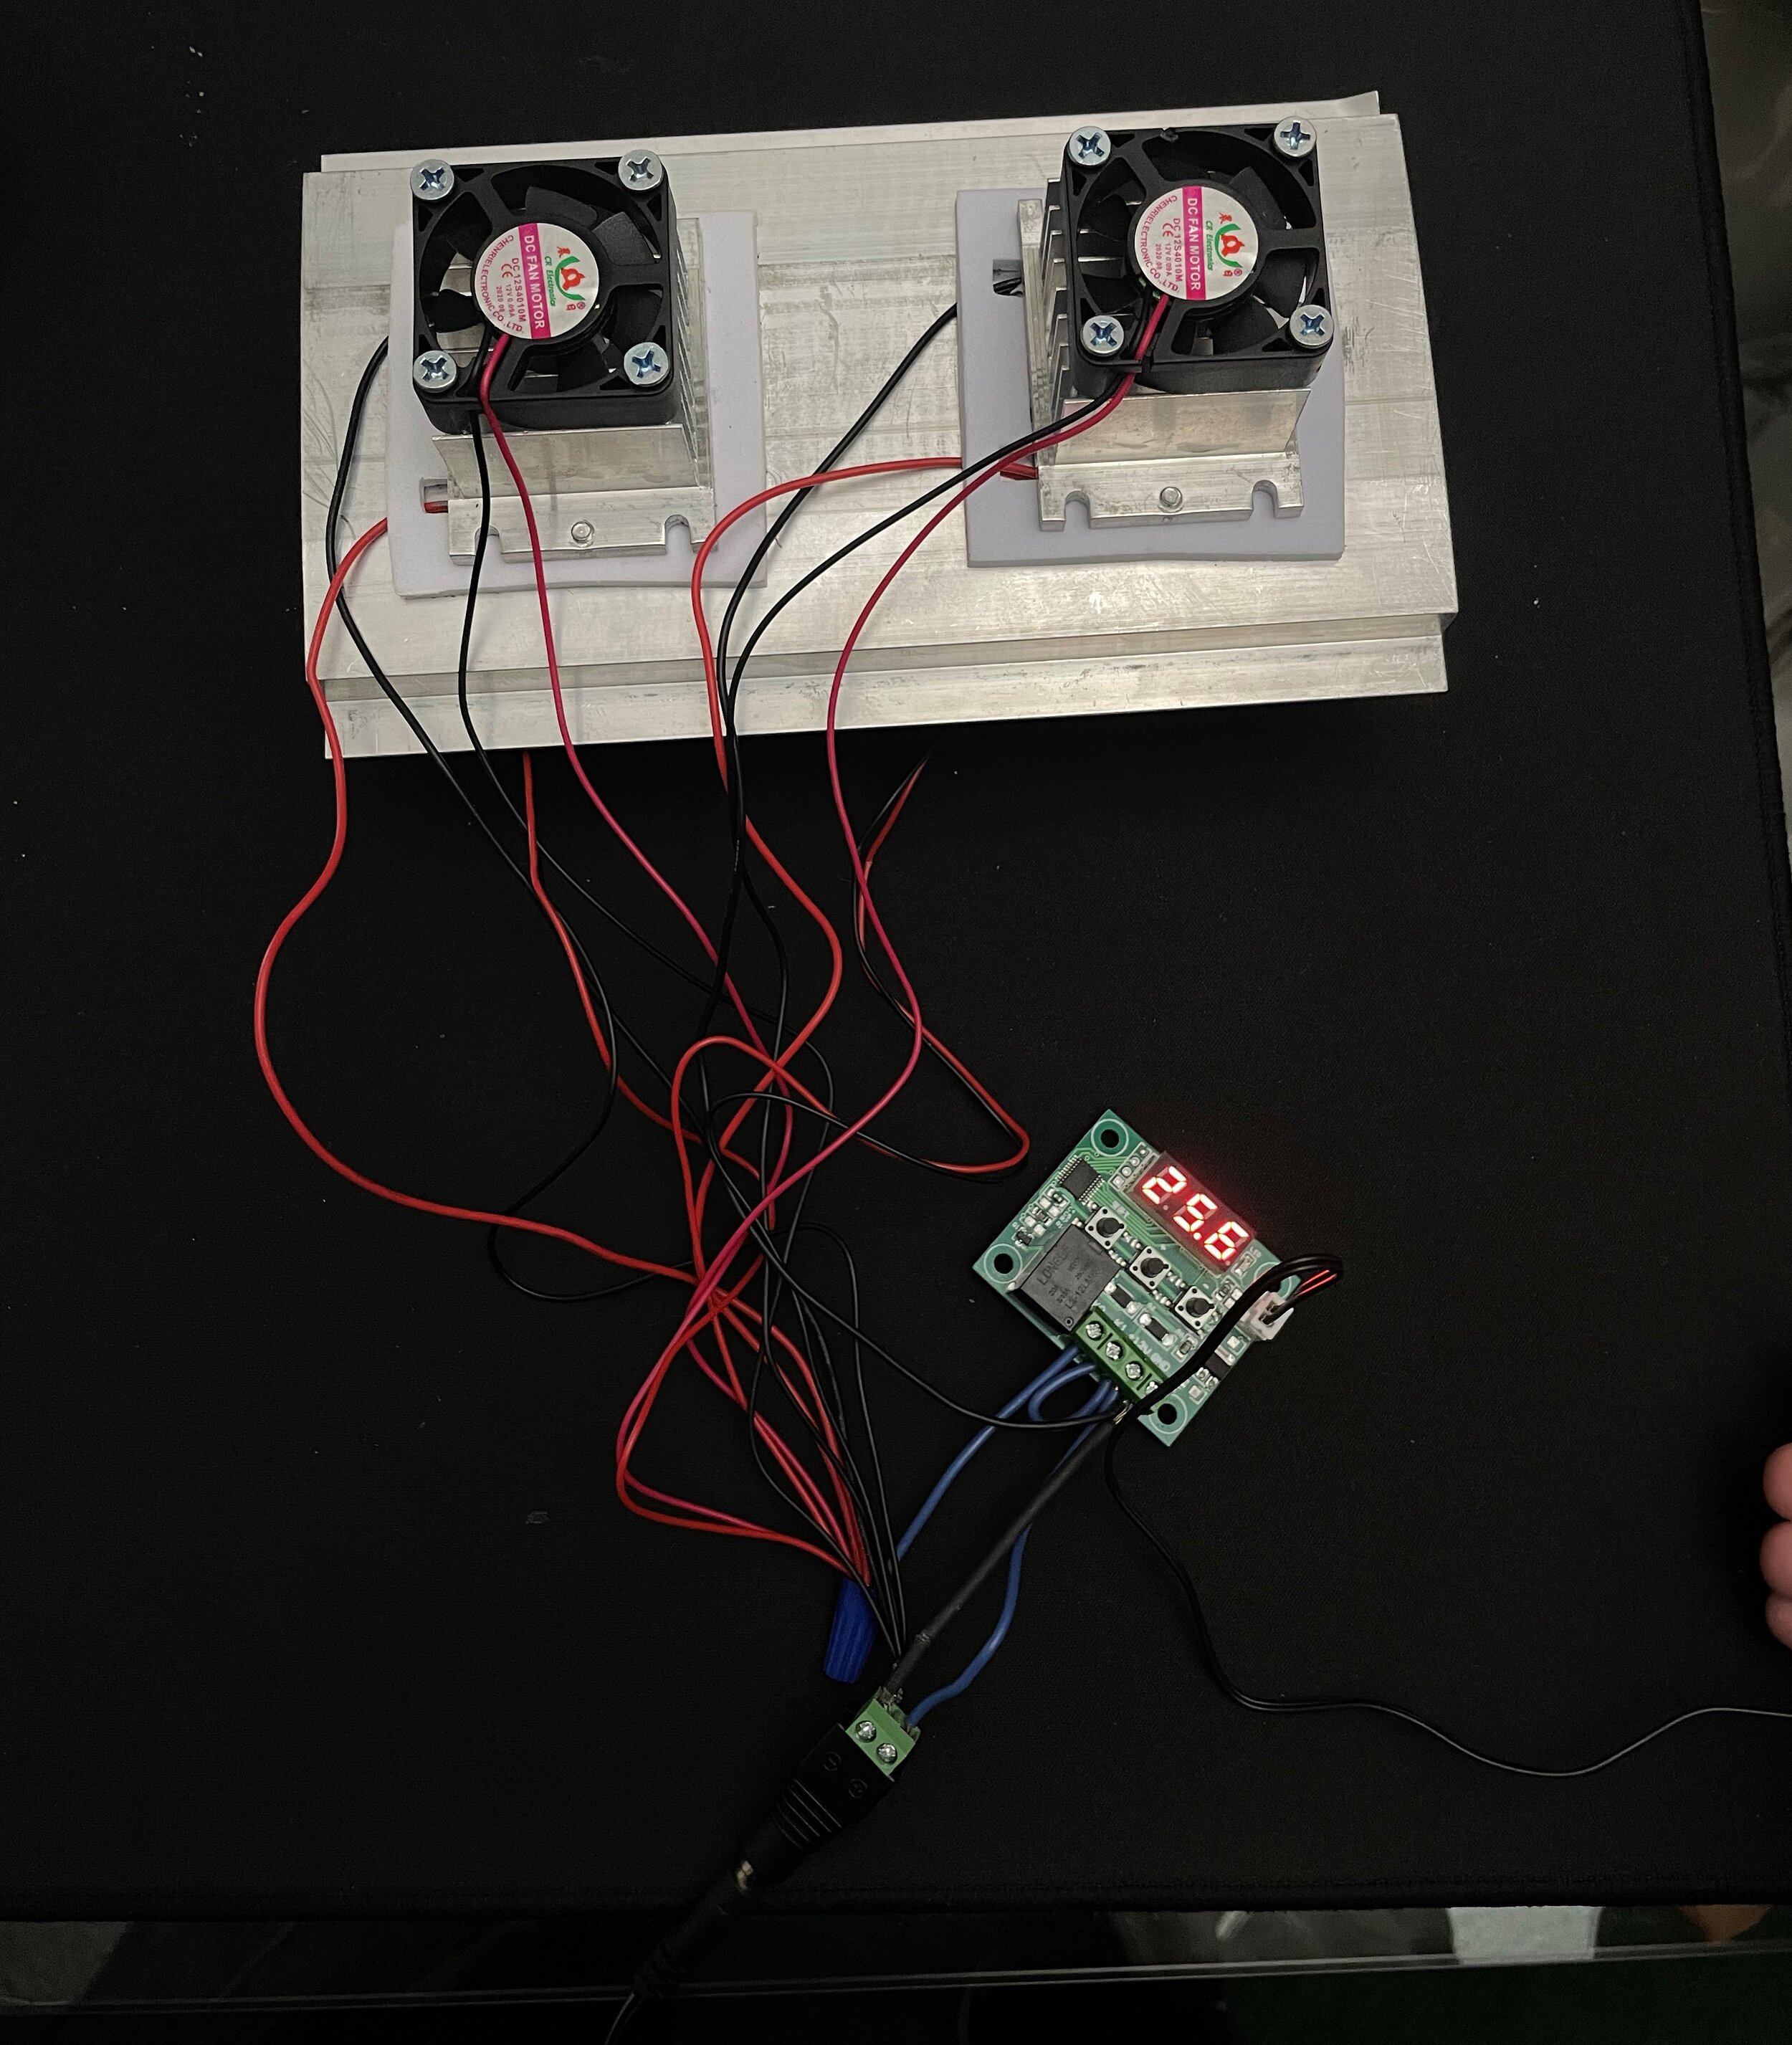
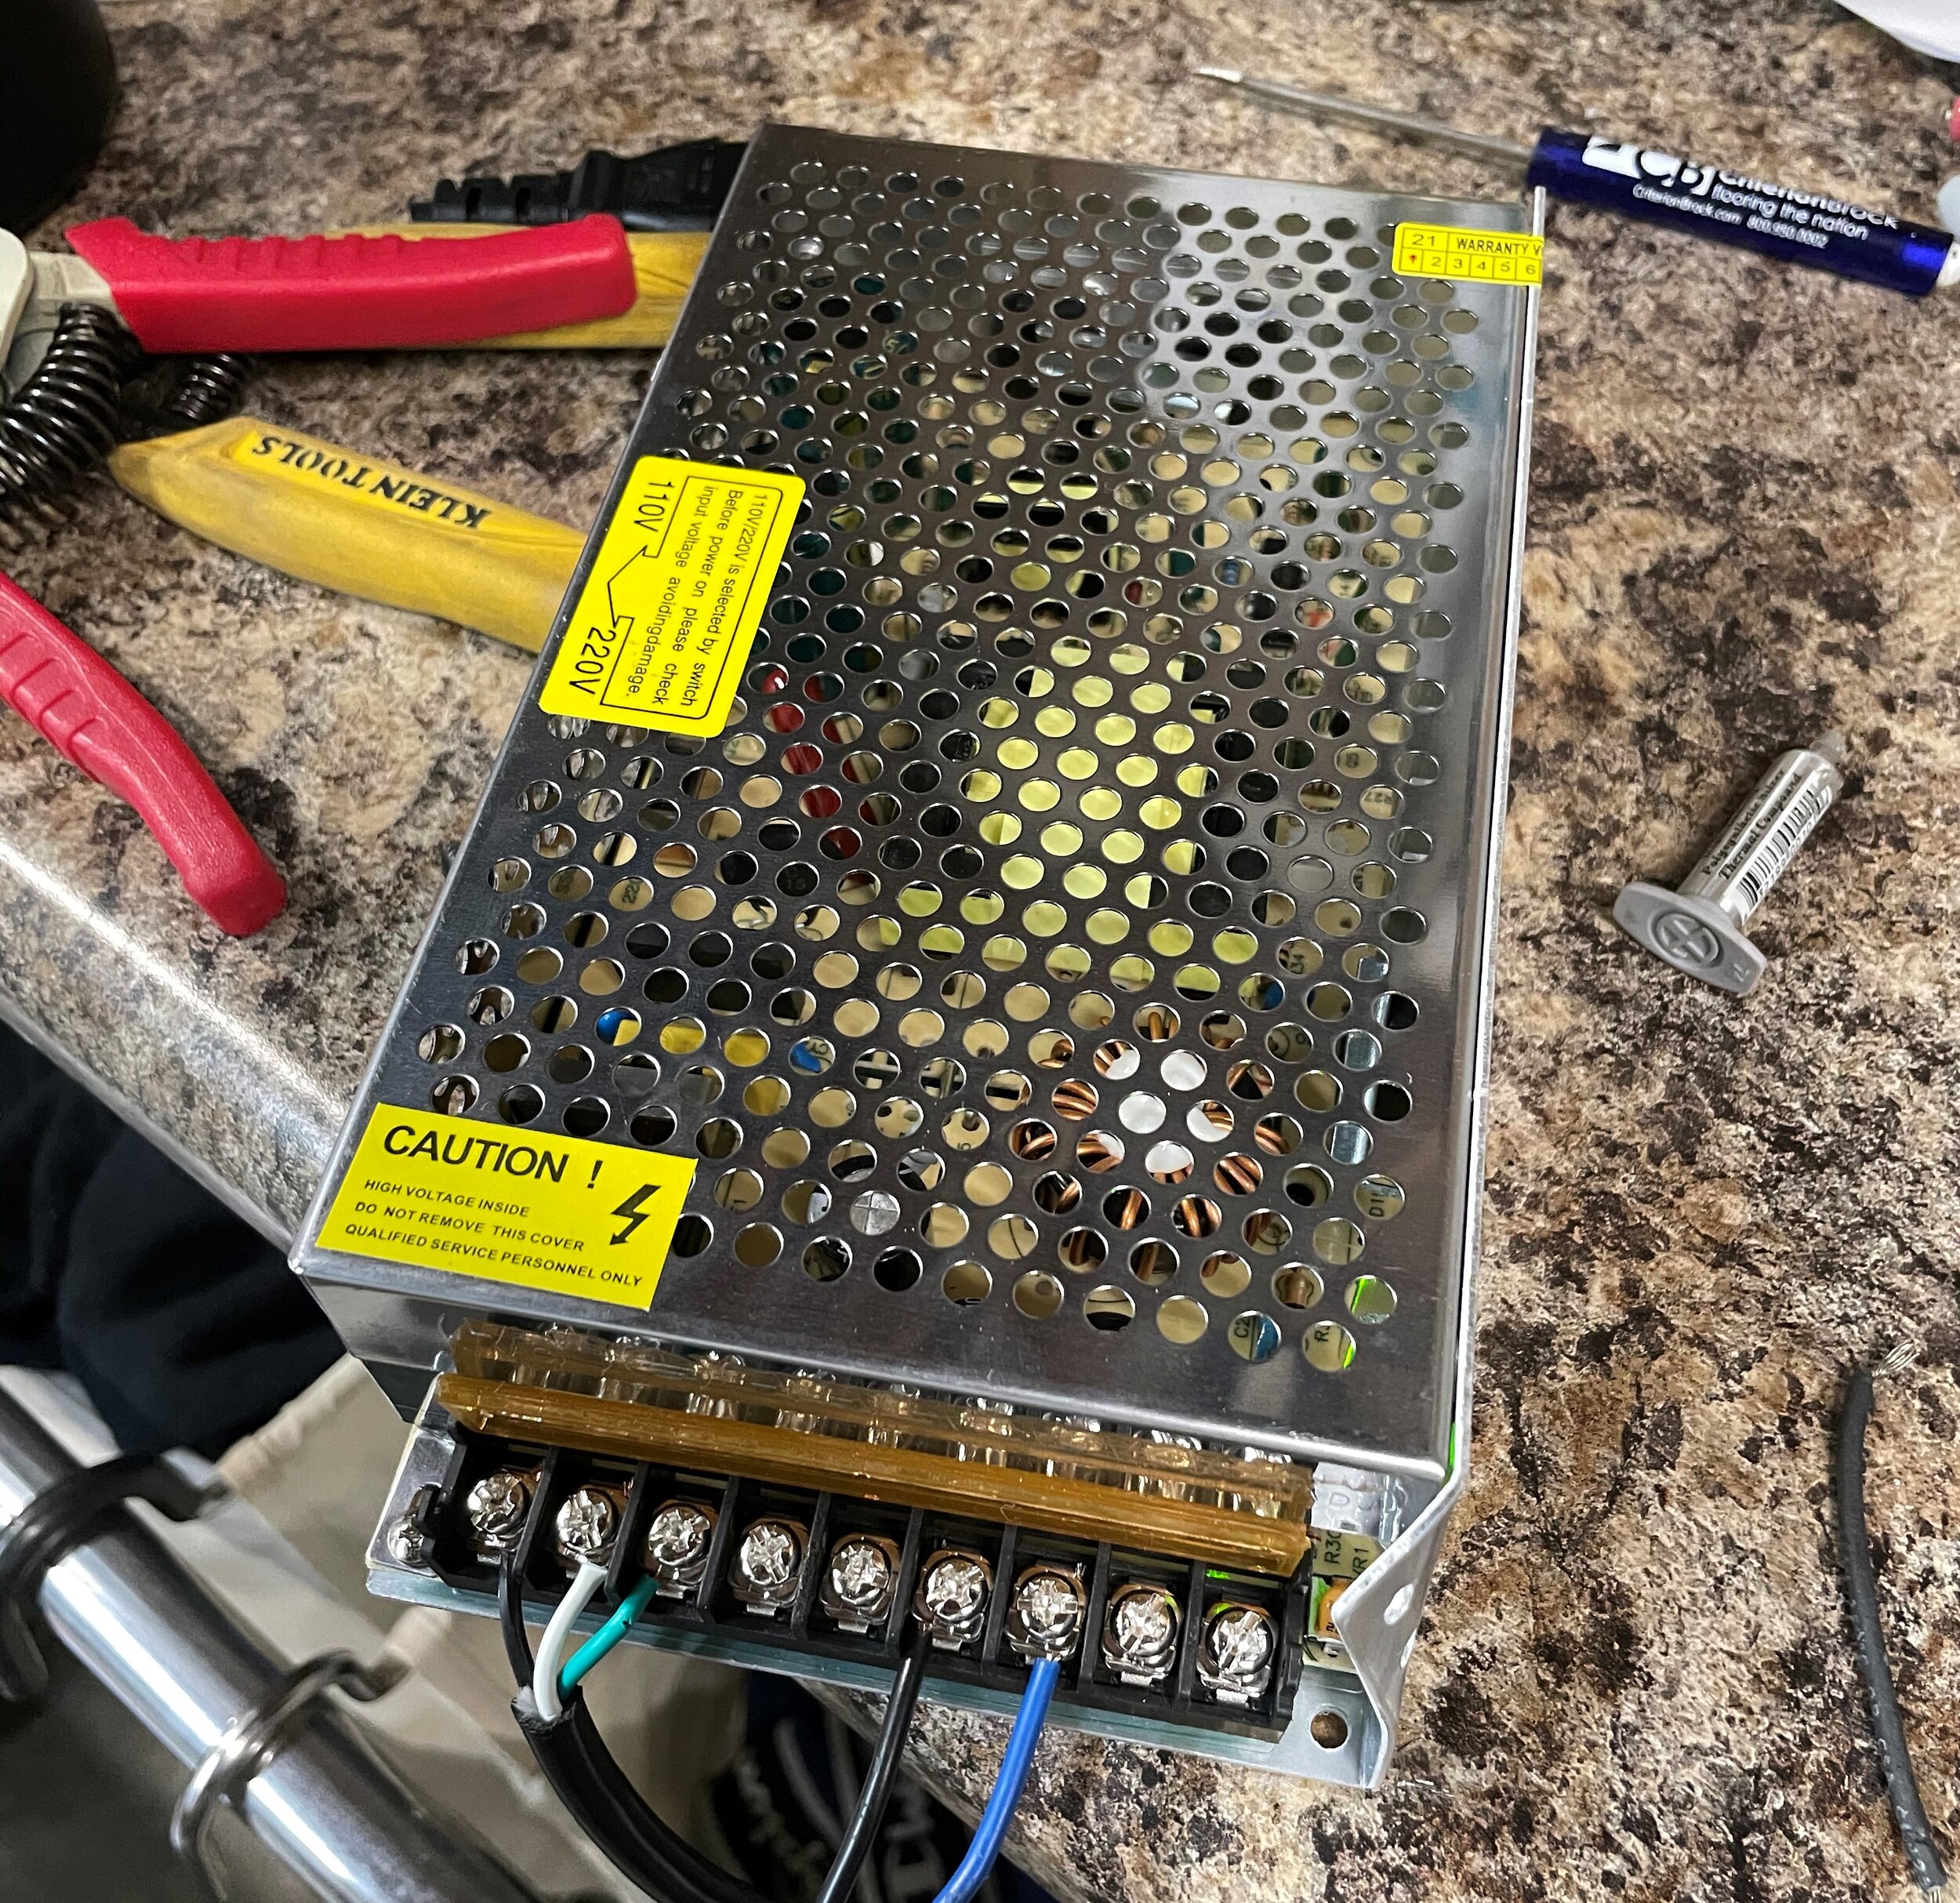
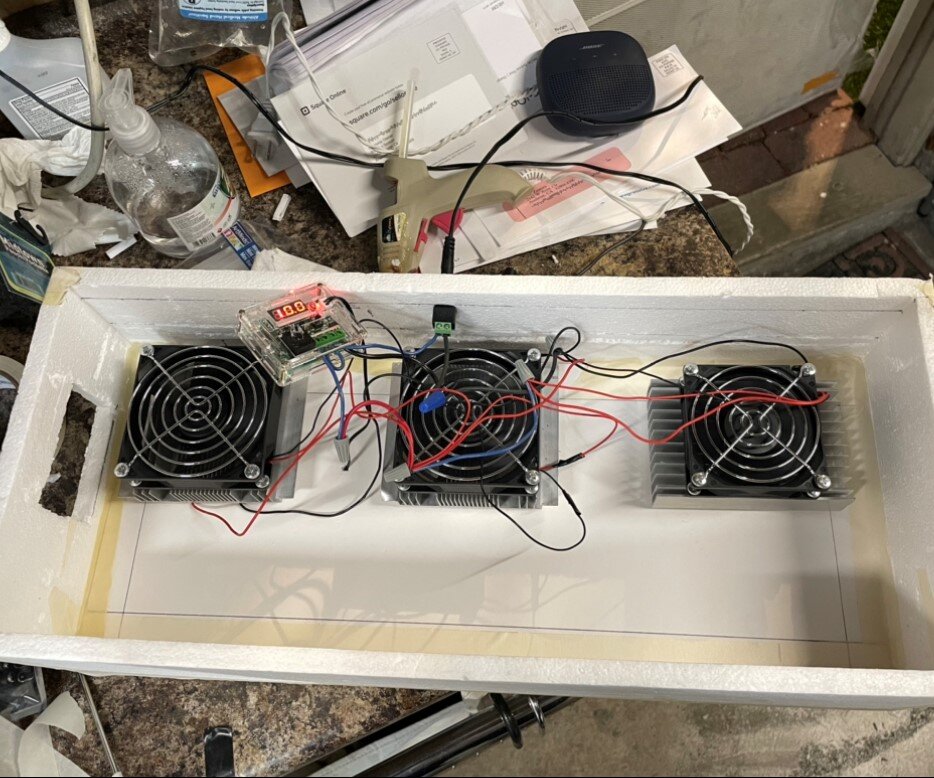
For the electricals, because everything is in DC I had to use an AC to DC power supply. All the peltiers and fans were hooked up to a 12 V thermostat controller that would turn on and off depending on the temperature setting it was set on. From there it was connected to the AC power supply. The AC power supply could power up to 20 amps while the whole products output was about 17 amps.
Materials
Aluminum
Transfers cold quickly Maintains temperatures
ABS Plastic
Dissipates heat
Lightweight


